App guide - myTraces
This guide will help you to connect your property to the myTraces app. In addition, it explains how to manage traces.
Connect
The first steps are to connect this app with your apaleo-account.
- Go to the apaleo Store, select the myTraces-app and choose Connect to PMS
- You will be presented with a consent-screen to authorize the app to access your apaleo-
account, click "Authorize" there - In the following step, you will be asked to select the properties you want the app to
activate for - Lastly, please click "create integrations", this creates new menu-entries for the
myTraces in your apaleo account
Manage your App – Account Setting
Navigate to Apps > myTraces to get to the Account settings of your app.
Here you can enter your billing address, activate or deactivate properties, create templates
and activate roles.
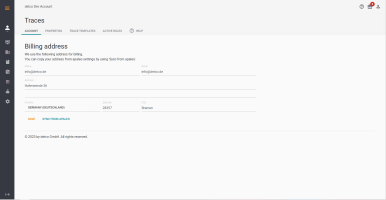
- Enter your billing address
You are required to enter your billing address in the first 30 days of usage. - Select Properties
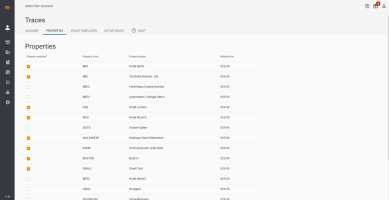
You can activate or deactivate properties at all times. Saving a property as activated or
deactivated, will make this property eligible for billing and create or delete the App
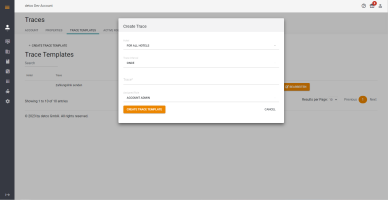
integration on property level. - Create Trace Templates
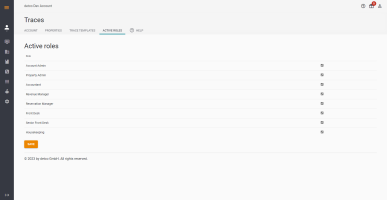
You can create reusable trace templates on account level. - Activate / deactivate Roles
If you don’t want to use the myTraces App for all apaleo roles you can deactivate them on
account level. Note: the roles can only create and view Traces for the same hierarchical
level or lower ones.
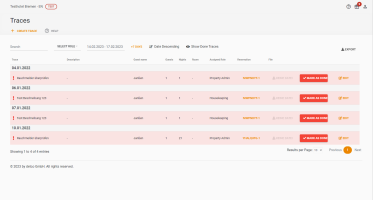
myTraces list view
On property level navigate to Apps > myTraces to see an overview of all active Traces.
Multiple filters and features let you search for traces, filter by roles, select time periods, show
done traces and export your current list of traces.
It is also here where you can mark your traces as done or edit them.
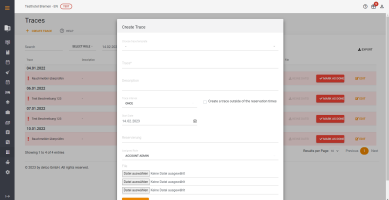
You can also create new traces in the list view. Just select a template or create a completely
new trace for a specific date. You can make it a reoccurring trace or just a one time task.
Additionally you are able to add documents to the trace.
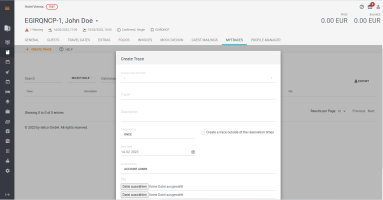
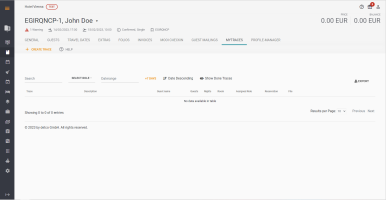
Reservation view
On property level navigate to Reservations > myTraces to see an overview of all active Traces
connected to a specific reservation.
Same as for the list view multiple filters and features let you search for traces, filter by roles,
select time periods, show done traces and export your current list of traces.
You can also create new traces in the reservation view, which are specifically connected to a
reservation. Just select a template or create a completely new trace for a specific date. You can
make it a reoccurring trace or just a one time task. Additionally, you are able to add documents to
the trace.
